
Choosing the camera view and capture settings
Which lens you record on decides how much of your guests fits in frame. Here is how to change it, and the one other capture setting worth checking.
The lens you record on decides how much of a guest fits in the frame. Get it
wrong and every clip of the night is cropped too tight, with heads and feet
cut off. It is the fastest way to disappoint someone who just queued for
your booth.
There are two capture settings worth knowing. One is the lens. The other is
a setting most operators never look at and should.
Changing the lens
The lens picker is on the recording screen, not in settings.
- Open the event, then Booths, then the booth.
- Tap Open capture.
- Tap the lens name near the top of the viewfinder and pick another.
You will see something like Wide Camera, Ultra-wide Camera or
Telephoto Camera, depending on the phone. Only rear lenses are offered,
because that is the side facing your guests. Some Android phones report a
single Multi-lens Camera instead, and choose for themselves.
Which one to use
Ultra-wide is the usual answer for a 360 booth. The arm holds the phone
close to the guest and sweeps around them. A wide field of view is what
keeps a whole person in frame, ideally with a bit of the room behind them.
Wide is the fallback when ultra-wide distorts too much for your liking,
or on a rig with a longer arm where you already have the distance.
Telephoto is almost never right here. It crops hard, and on a booth arm
it will fill the frame with somebody's chest.
Check it on the actual rig before the event. Stand where a guest stands, at
the height a guest stands, and watch a full rotation. The difference between
lenses is obvious once the arm is moving and impossible to judge from a
still preview.
The other setting: flicker correction
On the booth's Settings tab there is a row called Flicker correction,
with a choice between 50 Hz and 60 Hz.
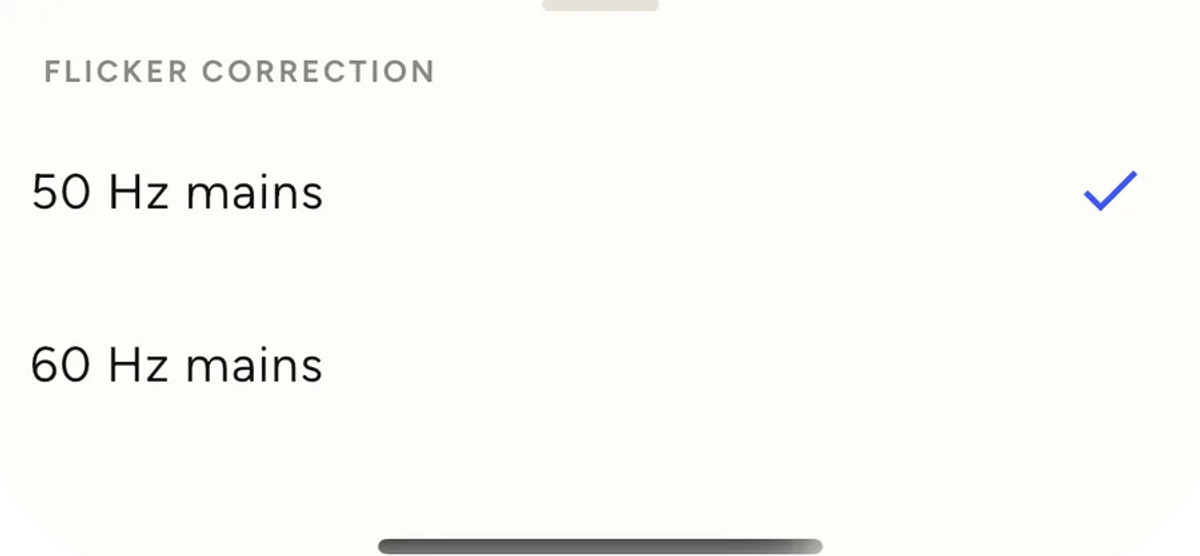
This matches the camera to the mains frequency of the country you are in.
Artificial light flickers at the frequency of the power supply, and a camera
out of step with it records visible banding: rolling dark bars through the
footage that no effect will fix afterwards.
Pick 50 Hz in Australia, the UK, most of Europe, and most of Asia and
Africa.
Pick 60 Hz in the United States, Canada, and much of South America, plus
Japan's eastern half.
If you are not sure, it is the same number as the plug sockets where you are
standing, and a quick search for the country will tell you.
Under daylight or LED lighting that does not flicker, neither setting hurts.
It is dance floors, uplighting and older venue fittings where it shows, and
by then it is baked into the footage.
If clips look wrong
Guests cropped or heads cut off. Wrong lens. Switch to ultra-wide and
check on the rig.
Rolling dark bands through the footage. Flicker correction is set to the
wrong mains frequency for the venue.
Everything soft or dark. Not a setting. That is usually the venue's
light level, and the answer is a light on the booth rather than anything in
the app.
Keep reading
Add an overlay to your 360 photobooth videos
An overlay puts your artwork on top of every clip your booth makes. Here is the file you need, where to add it in the app, and why an overlay sometimes does not appear.
Read more →
Add music to your 360 photobooth videos
A soundtrack plays under every clip from your event. You can pick one track, or pick several and let each clip get a different one at random.
Read more →
Brand kit, event identity and booth overrides
Branding sits at three levels and they do not all behave the same way. Two follow your changes, one is copied once and never looks back.
Read more →